Python Flask 概念與實作(七) - Blog功能
前言
Flask常用的幾個功能幾乎都介紹完了,而且Python Flask 概念與實作這個系列也來到最後一節,這節我們來實作一個Blog網站。
目前 Python Flask 概念與實作 大致規劃為
在開發過程中,Test(測試)其實也很重要,但礙於缺乏經驗,若之後有望的話再補上(專案打包、網站優化等等亦同)
Framework
首先,我們必須來定義一下網站架構與功能,關於登入功能在上一節登入功能(六)已經介紹完,這裡就不多做介紹。
在這節當中,我們當前的專案配置如下:
1 | . |
在我們定義的架構中,一般使用者可以訪問index.html(首頁)與blog.html部落格查看當前所有的文章。
而已登入的使用者可以新增、修改、刪除自己的文章
/blog所有文章列表/blog/post/1, 2, 3...指定文章/blog/create新增文章/blog/edit/1, 2, 3...編輯文章/blog/delete/1, 2, 3...刪除文章
/login
Blog
Home page of blog
首先,我們先新增Post(文章)的model,接著建立blog的首頁。
在
models.py新增postmodel1
2
3
4
5
6
7
8
9
10
11
12
13
14
15
16
17
18
19
20
21
22
23
24
25# models.py
# 略...
from datetime import datetime
class Post(db.Model):
id = db.Column(db.Integer, primary_key=True)
user_id = db.Column(db.Integer, db.ForeignKey("user.id"), nullable=False)
# 設定foreign key, 與User中的id關聯(table name預設為class name)
title = db.Column(db.String(20), unique=True, nullable=False)
created_time = db.Column(db.DateTime, default=datetime.now())
updated_time = db.Column(db.DateTime, default=datetime.now()) # 更改時更新時間
context = db.Column(db.String(200))
def __repr__(self):
return f'<Post {self.title}>'
class User(db.Model, UserMixin):
id = db.Column(db.Integer, primary_key=True)
username = db.Column(db.String(20), unique=True, nullable=False)
password = db.Column(db.String(20), nullable=False)
posts = db.relationship("Post", backref=db.backref("author", lazy=True))
# relationship(tableName, 反向關聯)
# backref(反向關聯變數名稱, 單向關聯) e.g. user無post則不創建post table
def __repr__(self):
return f'<User {self.username}>'使用
flask shell測試1
2
3
4
5
6
7
8
9
10
11
12
13
14
15# flask shell
User.query.all() # [<User myusername>]
u = User.query.all()[0]
Post.query.all() # [], 還未建立post
p1 = Post(user_id=u.id, title='my 1st post', context='there is nothing.')
db.session.add(p1)
db.commit()
p2 = Post(user_id=u.id, title='my 2nd post', context='there is nothing.')
db.session.add(p2)
db.commit()
Post.query.all() # [<Post my 1st post>, <Post my 2nd post>]新增
/blog資料夾,並新增__init__.py1
2
3
4
5# /blog/__init__.py
from flask import Blueprint
blog_bp = Blueprint('blog', __name__, template_folder='templates')
from . import routes新增
routes.py1
2
3
4
5
6
7
8
9# /blog/routes.py
from flask import render_template
from app.models import Post
from . import blog_bp
def index():
posts = Post.query.order_by(Post.created_time.desc()).all()
return render_template('index.html', posts=posts)在
blog中新增index.html1
2
3
4
5
6
7
8
9
10
11
12
13
14
15
16
17
18
19
20
21
22
23
24
25
26
27<!-- /blog/templates/index.html -->
{% extends "base.html" %}
<!-- 略... -->
{% block container %}
<div class="container px-4 px-lg-5">
<div class="row gx-4 gx-lg-5 justify-content-center">
<div class="col-md-10 col-lg-8 col-xl-7">
{% for post in posts %}
<!-- Post preview-->
<div class="post-preview">
<a href="{{ url_for('blog.post', id=post.id) }}">
<h2 class="post-title">{{ post.title }}</h2>
</a>
<p class="post-meta">
Posted by {{ post.author.username }}
on {{ post.created_time.strftime("%B %d, %Y") }}
</p>
</div>
<!-- Divider-->
<hr class="my-4" />
{% endfor %}
</div>
</div>
</div>
{% endblock %}修改
__init__.py,新增blueprint1
2
3
4
5
6
7
8
9
10
11
12
13
14
15
16
17
18
19
20
21
22# __init__.py
from flask import Flask
from config import config
from app.models import db, bootstrap, migrate
from .blog import blog_bp
def create_app(config_name='devp'):
app = Flask(__name__)
app.config.from_object(config[config_name])
bootstrap.init_app(app)
db.init_app(app)
migrate.init_app(app, db)
# create db
with app.app_context():
db.create_all()
# blueprint routes
app.register_blueprint(blog_bp, url_prefix='/blog')
return app
此時訪問這裡,可以看到你的blog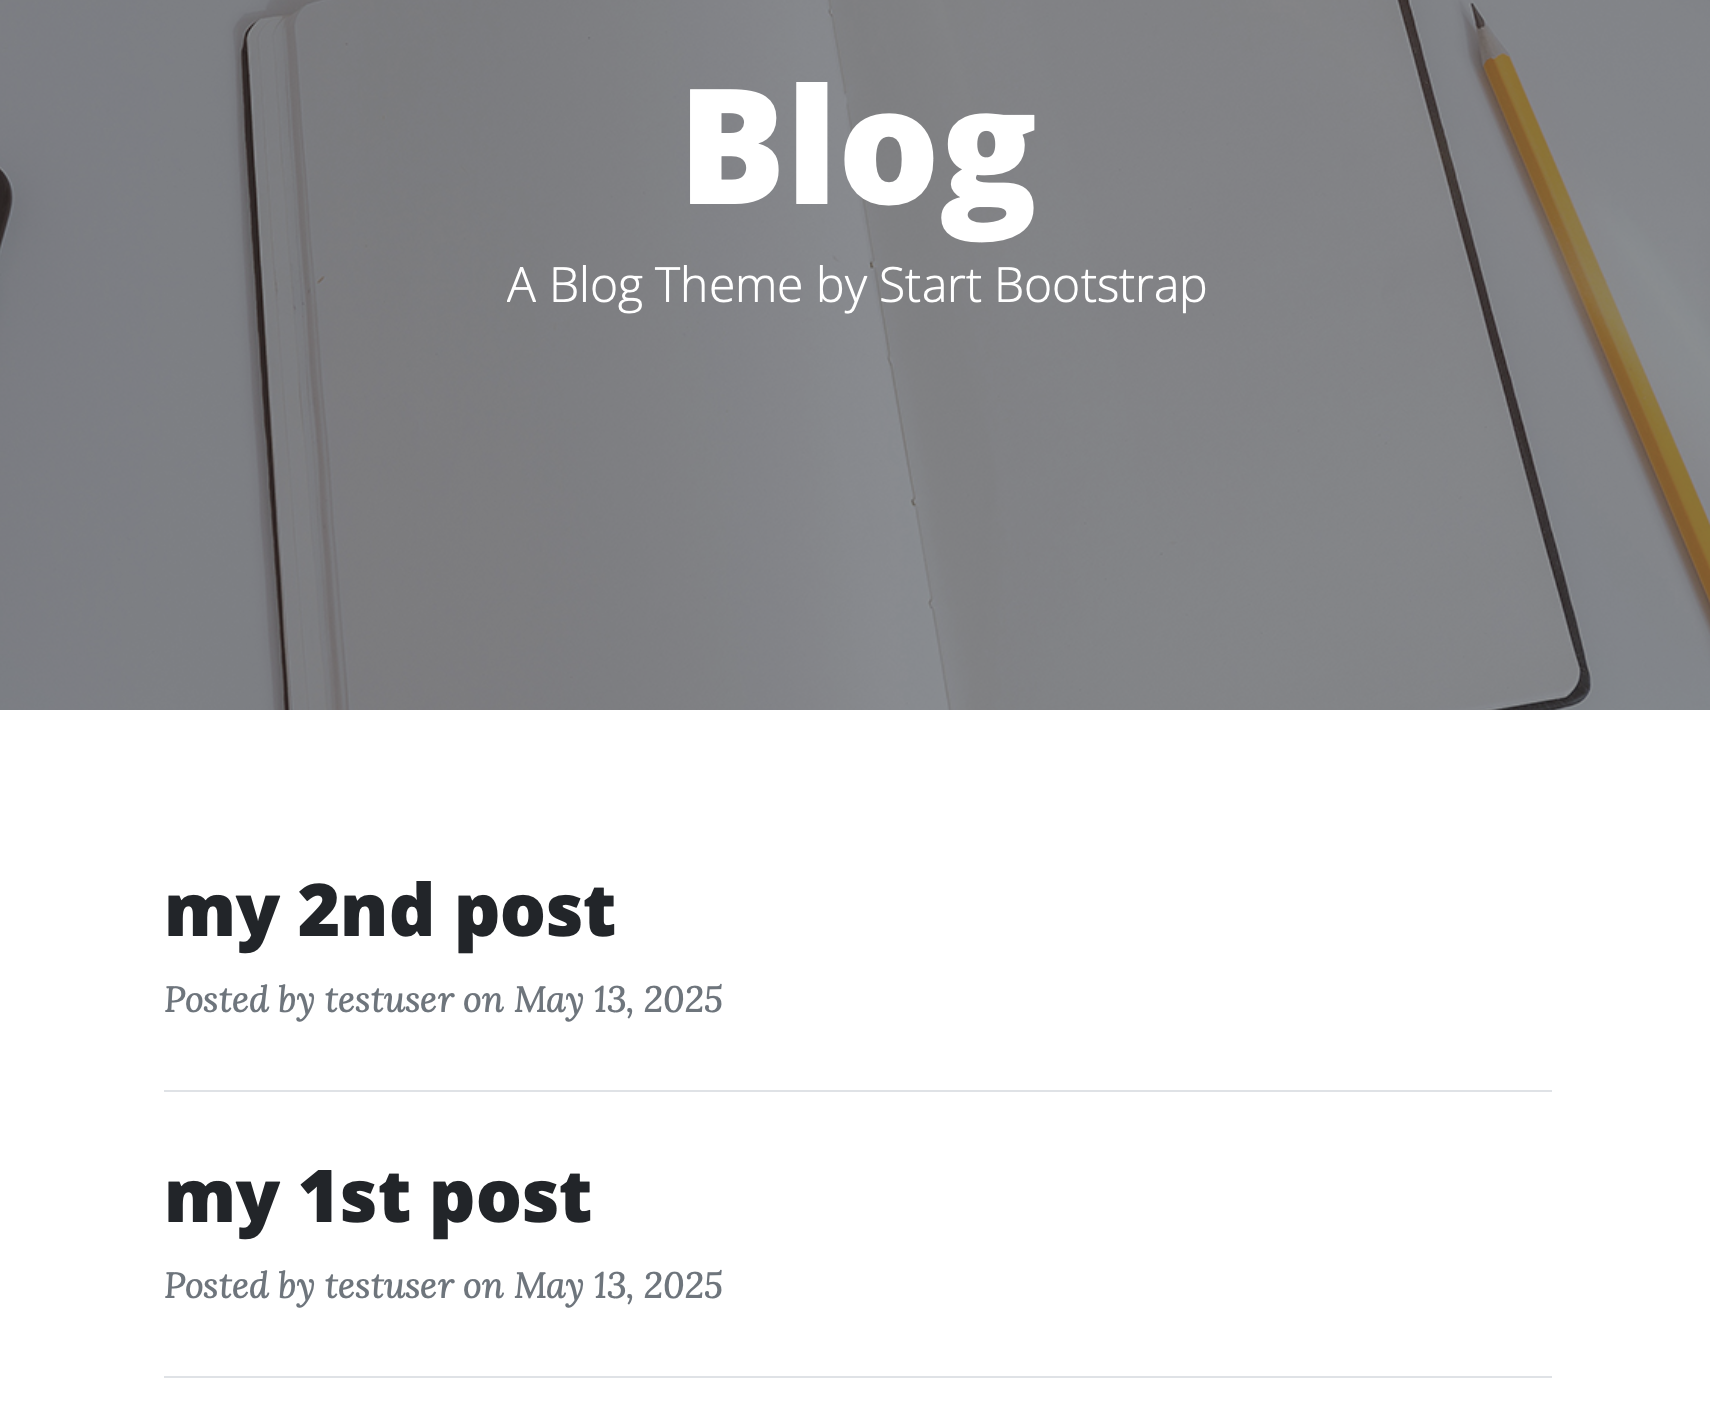
Create new post
接著,我們要建立一個新增Post的頁面
使用WTForm建立表單,可以參照在使用 WTForm 快速建立表單 feet. flask檔案佈局 & bootstrap方式,在
forms.py新增表單1
2
3
4
5
6
7# forms.py
# 略...
class EditPostForm(FlaskForm):
title = StringField("Title", validators=[DataRequired(), Length(min=1, max=30)])
context = TextAreaField("Context", validators=[DataRequired(), Length(max=200)])
submit = SubmitField("Post")在
routes.py新增路徑1
2
3
4
5
6
7
8
9
10
11
12
13
14
15
16
17
18
19# blog/routes.py
# 略...
from flask_login import login_required, current_user
from app.models import db, Post
from app.forms import EditPostForm
def create():
form = EditPostForm()
if form.validate_on_submit():
title = form.title.data
context = form.context.data
post = Post(user_id=current_user.id, title=title, context=context)
db.session.add(post)
db.session.commit()
flash("Create post success.", category="success")
return redirect(url_for('blog.index'))
return render_template('edit_post.html', form=form)新增
edit_post.html1
2
3
4
5
6
7
8
9
10<!-- blog/templates/edit_post.html -->
<!-- 略... -->
{% from 'bootstrap4/form.html' import render_field %}
<form method="post">
{{ form.csrf_token() }}
{{ render_field(form.title) }}
{{ render_field(form.context, style='height: 150px;') }}
<br/>
{{ render_field(form.submit) }}
</form>
完成後就可以到這裡新增post了!!(必須登入)
Edit post
在編輯前我們需要檢查下列幾點事項
- 欲更改的post是否存在
- 欲更改的post作者是否為current user
若滿足以上兩點則將data載入edit_post.html,否則轉到blog.index並顯示警示訊息
更新的同時,除了要更新內容外,也須更新updated_time
- 修改
models.py,新增update_time()1
2
3
4
5# models.py
class Post(db.Model):
# 略...
def update_time(self):
self.updated_time = datetime.now() - 修改
blog/index.html,增加修改時間1
2
3
4
5
6
7
8
9
10
11<!-- blog/templates/index.html -->
<!-- 略... -->
<p class="post-meta">
Posted by
{{ post.author.username }}
on {{ post.created_time.strftime("%B %d, %Y") }}.
<!-- 新增'修改時間' -->
<small>Updated on
{{ post.updated_time.strftime("%B %d, %Y %H:%M") }}
</small>
</p> - 修改
routes.py,新增edit()1
2
3
4
5
6
7
8
9
10
11
12
13
14
15
16
17
18
19
20# blog/routes.py
def edit(id):
post = Post.query.filter_by(id=id).first()
if not post or current_user != post.author: # 若文章不存在或不是該文章作者, 跳出
flash("The post is not exist or it's not permitted.", category="danger")
return redirect(url_for('blog.index'))
form = EditPostForm()
if form.validate_on_submit(): # 送出後, 載入input data
post.title = form.title.data
post.context = form.context.data
post.update_time() # 更新'修改時間'
db.session.add(post)
db.session.commit()
flash("The post updated success.", category="success")
return redirect(url_for("blog.index"))
form.title.data = post.title
form.context.data = post.context
return render_template('edit_post.html', form=form)
修改完成後在/blog/edit/<id>就可以修改當前帳號的post!!
Delete post
修改
routest.py,修改update()1
2
3
4
5
6
7# blog/routes.py
def edit(id):
# 略...
# 新增'current_post_id'
return render_template('edit_post.html', form=form, current_post_id=post.id)修改
routes.py,新增delete()1
2
3
4
5
6
7
8
9
10
11
12
13# blog/routes.py
def delete(id):
post = Post.query.filter_by(id=id).first()
if post and current_user == post.author:
db.session.delete(post)
db.session.commit()
flash("The post is delete.", category="success")
else:
flash("The post is not exist or it's not permitted.", category="danger")
return redirect(url_for('blog.index'))修改
edit_post.html1
2
3
4
5
6
7
8
9
10
11
12
13
14
15<!-- blog/templates/edit_post.html -->
<!-- 略... -->
<form method="post">
{{ form.csrf_token() }}
{{ render_field(form.title) }}
{{ render_field(form.context, style='height: 150px;') }}
<br/>
{{ render_field(form.submit) }}
<!-- 新增刪除按鈕 -->
{% if current_post_id %}
<button type="button" class="btn btn-danger" onclick="window.location.href='{{ url_for('blog.delete', id=current_post_id) }}'">
Delete
</button>
{% endif %}
</form>
Pagination of index
隨著我們的文章增加,index頁面會越來越長,SQLAlchemy也提供分頁功能,讓我們實現Pagination(頁籤)的功能。
當前的文章有點太少,我們先新增多筆
Post1
2
3
4
5
6
7# flask shell
u = User.query.all()[0]
for i in range(1,10):
p = Post(user_id=u.id, title=f'New post No.{i}', context='nothing')
db.session.add(p)
db.session.commit()先測試一下SQLAlchemy的paginate功能
1
2
3
4
5
6
7
8
9
10
11
12
13
14
15
16
17
18
19
20# flask shell
page = 1 # 當前頁面
posts = Post.query.order_by(Post.created_time.desc()).paginate(page=page, per_page=5, error_out=False)
# page: 初始頁面
# per_page: 每一頁的文章數
# error_out: 錯誤訊息顯示
# post數量
posts.total # 13
# page數量
posts.pages # 3
# 判斷是否存在前、後一頁
posts.has_prev # False
posts.has_next # True
# 存取前、後一頁
posts.prev_num # null
posts.next_num # 2修改
routes.py1
2
3
4
5
6
7
8
9
10
11
12
13
14
15# blog/routes.py
# 略...
from flask import request
def index():
# 設定初始page
page = request.args.get('page', 1, type=int)
# posts = Post.query.order_by(Post.created_time.desc()).all()
posts = Post.query.order_by(Post.updated_time.desc()).paginate(page=page, per_page=5, error_out=False)
# posts已從<list>改為<object>
# 傳入page參數
return render_template('index.html', page=page, posts=posts)修改
index.html1
2
3
4
5
6
7
8
9
10
11
12
13
14
15
16
17
18
19
20
21
22
23
24
25
26
27
28
29
30
31
32<!-- blog/index.html -->
<!-- 略... -->
<nav aria-label="Page navigation example">
<ul class="pagination justify-content-center">
<!-- 前一頁 -->
{% if posts.has_prev %}
<li class="page-item">
<!-- 傳入page = posts.prev_num -->
<a class="page-link" href="{{ url_for('blog.index', page=posts.prev_num) }}" aria-label="Previous">
<span aria-hidden="true">«</span>
</a>
</li>
{% endif %}
<!-- 使用for顯示所有頁面 -->
{% for i in range(1, posts.pages+1) %}
<!-- 傳入page = i -->
<li class="page-item"><a class="page-link" href="{{ url_for('blog.index', page=i) }}">{{ i }}</a></li>
{% endfor %}
<!-- 後一頁 -->
{% if posts.has_next %}
<li class="page-item">
<!-- 傳入page = posts.next_num -->
<a class="page-link" href="{{ url_for('blog.index', page=posts.next_num) }}" aria-label="Next">
<span aria-hidden="true">»</span>
</a>
</li>
{% endif %}
</ul>
</nav>
修改完後大概是這個效果
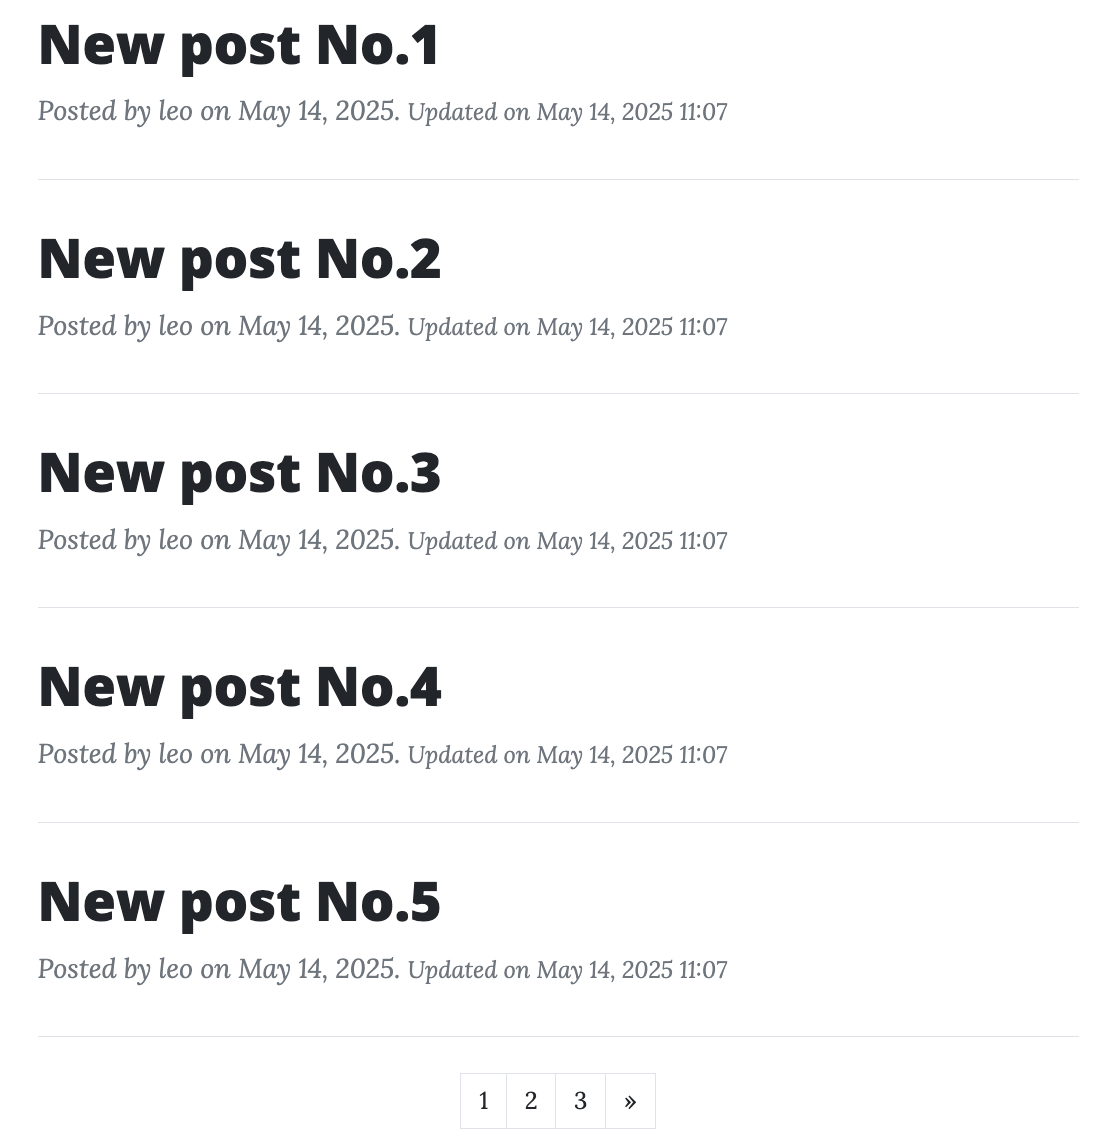
然而隨著文章越來越多,Pagination會超出範圍
5. 先步驟1一樣新增文章,但這次新增再多一點
1
2
3
4
5
6
7
8# flask shell
for i in range(11,100):
p = Post(user_id=u.id, title=f'New post No.{i}', context='nothing')
db.session.add(p)
db.session.commit()
posts.total # 102
posts.page # 12
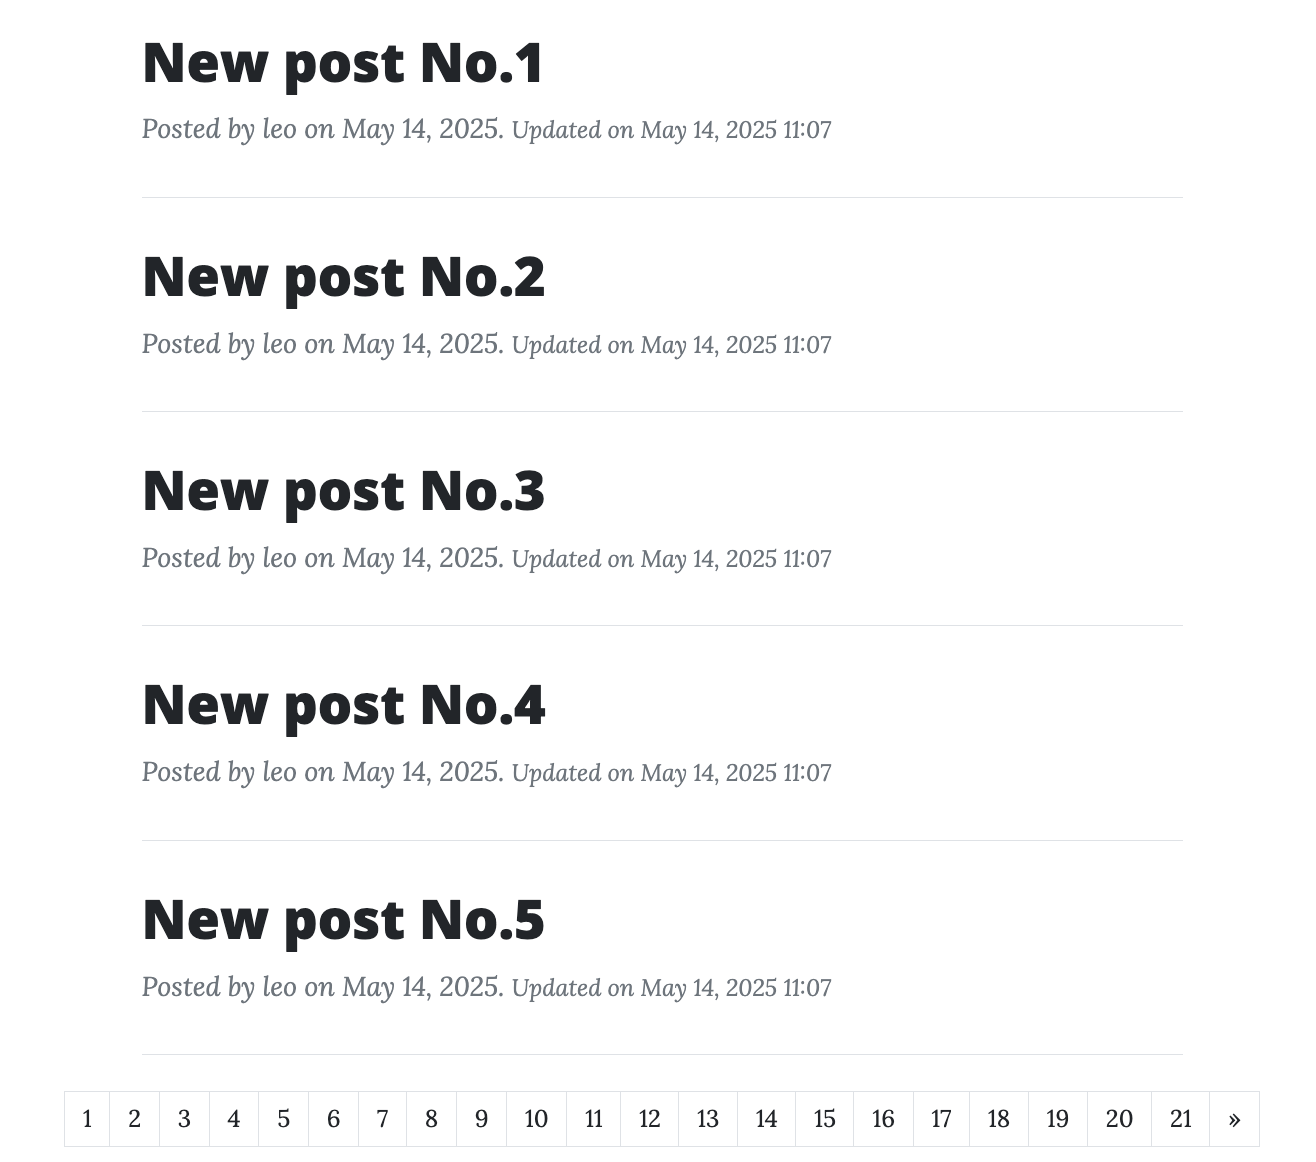
雖然看起來還沒超出範圍,但若使用像手機這類較小的顯示器很容易超出範圍,並且也不太美觀
SQLAlchemy的
paginate還提供方便的功能,先來測試看看1
2
3
4
5
6
7
8
9
10
11
12
13
14
15
16
17
18
19
20
21
22# flask shell
page = 1 # 當前頁面
posts = Post.query.order_by(Post.updated_time.desc()).paginate(page=page, per_page=5, error_out=False)
for i in posts.iter_pages():
print(i)
# 1, 2, 3, 4, 5, None, 20, 21
# iter_pages()內參數預設值:
# left_edge = 2 起點數量
# left_current = 2 當前向左數量
# right_edge = 5 當前向左數量
# right_current = 2 終點數量
page = 12 # 當前頁面
posts = Post.query.order_by(Post.updated_time.desc()).paginate(page=page, per_page=5, error_out=False)
for i in posts.iter_pages(right_current=2):
print(i)
# 1, 2, None, 10, 11, 12, 13, 14, None, 20, 21
# left_edge = 2 -> 1,
# left_current = 2 -> 10, 11
# right_edge = 2 -> 13, 14
# right_current = 2 -> 20, 21修改
index.html,修改for()1
2
3
4
5
6
7
8
9
10
11
12
13<!-- blog/templates/index.html -->
<!-- 略... -->
{% for i in posts.iter_pages(right_current=2) %}
<!-- 判斷 i =? None -->
{% if i %}
<!-- 當前頁面使用'disabled' class -->
<li class="page-item {% if page == i %}disabled{% endif %}">
<a class="page-link" href="{{ url_for('blog.index', page=i) }}">{{ i }}</a>
</li>
{% else %}
<li class="page-item"><a class="page-link" href="#">...</a></li>
{% endif %}
{% endfor %}
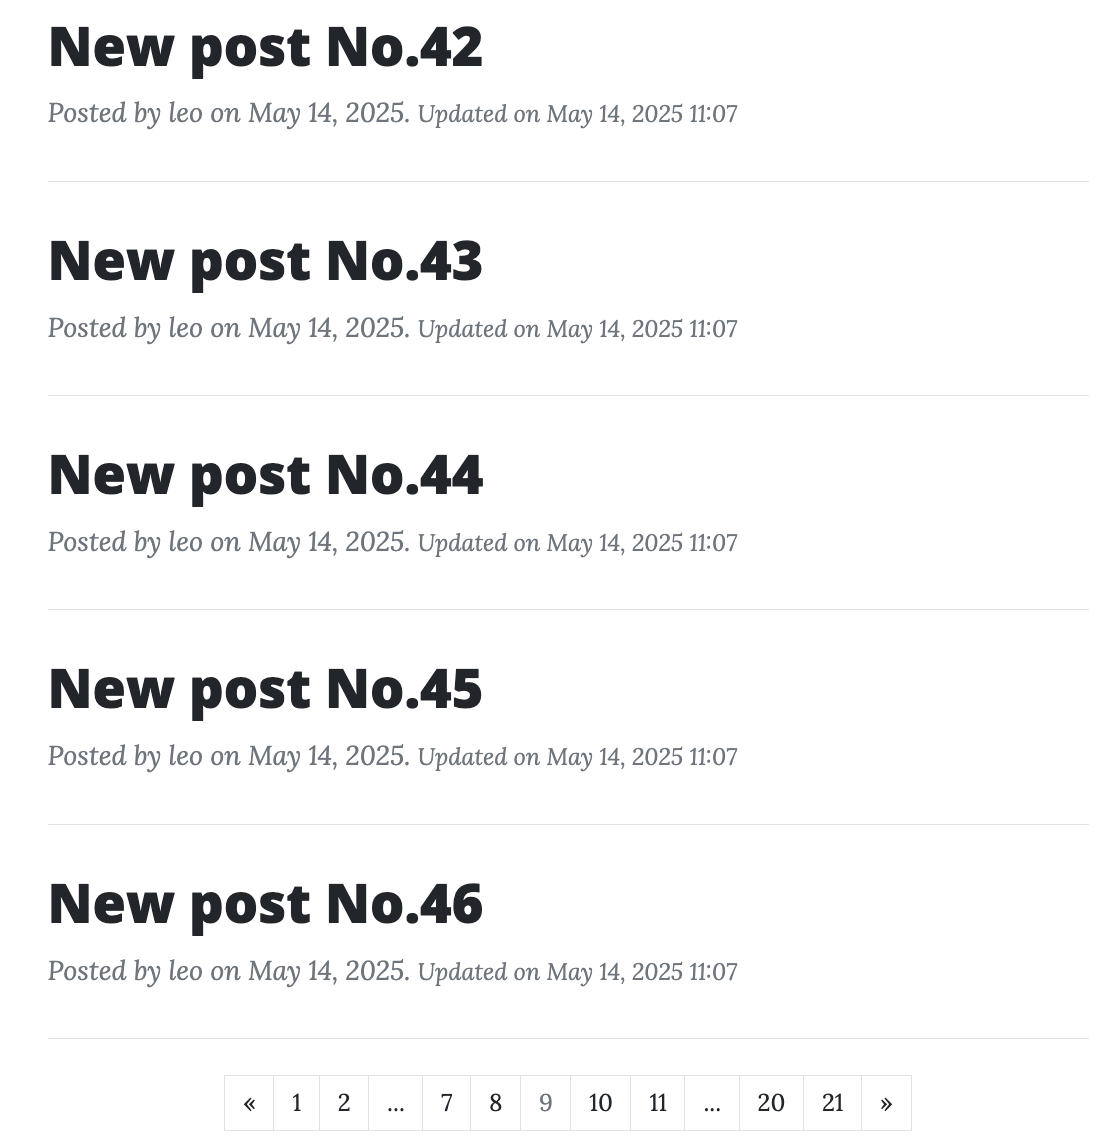
修改完後看起來沒有問題,我們也完成自己的Blog。
而且Flask系列也差不多到一個階段 ✌🏻,之後有補充也會新增 🤓。
Python Flask 概念與實作系列結束後發現Flask真的是容易上手,而且也是一個打好基礎🚧的Web Framework
結論
- 部落格文章’新增’, ‘修改’, ‘刪除’功能
- Pagination(頁籤)